TL;DR
- Setup: init Node project, install
selenium-webdriver+chromedriver, build a Chrome driver and open a page. - Scrape:
getPageSource, select withBy.css, iterate titles / ratings. - Techniques: wait (
until.elementLocated), infinite scroll, type / click flows. - For scale or less hassle, use Scrapingdog to handle proxies, headless, retries.
If you want to scrape dynamic websites using Node.js and a headless browser, tools like Puppeteer and Selenium are great options. We have already covered web scraping with Puppeteer, and today, we’ll learn how to use Selenium with Node.js for web scraping.
Many of you might already be familiar with Selenium if you’ve used it for web scraping with Python. In this article, however, we’ll explore using Selenium with Node.js for web scraping from scratch. We’ll cover topics such as scraping a website, waiting for specific elements to load, and more.
Setting Up Selenium in Node.js
Before diving into how to use Selenium for web scraping, you need to ensure your environment is ready. Follow these steps to install and set up Selenium with Node.js.
Install Node.js
I hope you have already installed Nodejs on your machine and if not then you can download it from here. You can verify the installation with this step.
node -v
Create a new Node.js project
Create a folder with any name you like. We will store all of our .js files inside this folder.
					mkdir selenium-nodejs-demo
cd selenium-nodejs-demo
Then initialize package.json file.
npm init -y
Install Required Packages
To interact with the browser we have to install the selenium-webdriver package.
npm install selenium-webdriver
Now, if you are going to use the Google Chrome browser then you have to install chromedriver as well.
npm install chromedriver
We are done with the installation part. Let’s test our setup.
How to Run Selenium with Nodejs
					const { Builder } = require('selenium-webdriver');

async function testSetup() {
  let driver = await new Builder().forBrowser('chrome').build();
  await driver.get('https://www.scrapingdog.com/');
  console.log('Browser launched successfully!');
  await driver.quit();
}

testSetup();
First the Builder class from the Selenium WebDriver library is imported to create a new WebDriver instance for browser automation. Then a new WebDriver instance is created to automate Google Chrome. The browser instance is launched using the build() method. In the next step, the driver navigates to www.scrapingdog.com.
After the browser launches a message is printed for confirmation. Then we are closing the driver using .quit() method.

Extracting Data with Selenium and Nodejs
Let’s take this IMDB page as an example URL for this section.
					const { Builder } = require('selenium-webdriver');

async function testSetup() {
  let driver = await new Builder().forBrowser('chrome').build();


  await driver.get('https://www.imdb.com/chart/moviemeter/');


  let html = await driver.getPageSource();


  console.log(html);


  await driver.quit();
}

testSetup();
Using .getPageSource() function we are extracting the raw HTML of the target website. Then finally before closing the browser, we print the raw HTML on the console.
Once you run this code you will see this as a result.

Now, if I want to parse the title and rating of the movies on this page, I have to use the By class to search for a particular CSS selector.

In the above image, you can see that the title of the movie is located inside .ipc-title — title a

The rating part is stored inside the span tag with the CSS selector .ipc-rating-star — imdb span:nth-child(2)
Let’s parse this data using By.
					const { Builder, By } = require('selenium-webdriver');

async function testSetup() {

  let driver = await new Builder().forBrowser('chrome').build();

  try {

    await driver.get('https://www.imdb.com/chart/moviemeter/');
    await driver.sleep(5000);

    let movies = await driver.findElements(By.css('.ipc-title--title a'));
    let ratings = await driver.findElements(By.css('.ipc-rating-star--imdb span:nth-child(2)'));


    console.log(`Found ${movies.length} movies and ${ratings.length} ratings.`);


    for (let i = 0; i < movies.length; i++) {
      let title = await movies[i].getText();
      let rating = ratings[i] ? await ratings[i].getText() : 'N/A';
      console.log(`${title} - ${rating}`);
    }
  } catch (err) {
    console.error('An error occurred:', err);
  } finally {

    await driver.quit();
  }
}


testSetup();
In the above code, I am using .findEements() in order to search for those CSS selectors in the DOM.
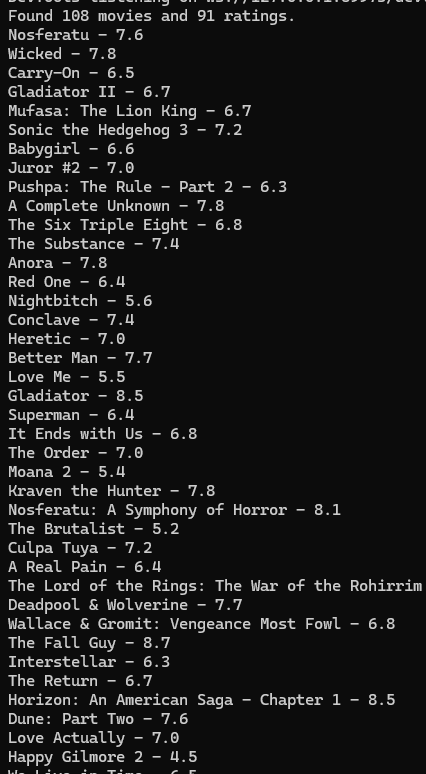
Then with the help of a for loop, I am iterating over all the movies and printing their names and ratings. Once you run this code you should see this.

How to do Infinite Scrolling
Many e-commerce websites have infinite scrolling and to reach the bottom we have to use infinite scrolling in order to scrape the data present at the very bottom.
					const { Builder } = require('selenium-webdriver');

async function infiniteScrollExample() {
  let driver = await new Builder().forBrowser('chrome').build();

  try {
    // Navigate to the target website
    await driver.get('https://www.imdb.com/chart/top/'); // Replace with your target URL
    console.log('Page loaded.');

    let lastHeight = 0;

    while (true) {
      // Scroll to the end of the page
      await driver.executeScript('window.scrollTo(0, document.body.scrollHeight);');
      console.log('Scrolled to the bottom.');

      // Wait for 3 seconds to allow content to load
      await driver.sleep(3000);

      // Get the current height of the page
      const currentHeight = await driver.executeScript('return document.body.scrollHeight;');

      // Break the loop if no new content is loaded
      if (currentHeight === lastHeight) {
        console.log('No more content to load. Exiting infinite scroll.');
        break;
      }

      // Update lastHeight for the next iteration
      lastHeight = currentHeight;
    }

  } catch (error) {
    console.error('An error occurred:', error);
  } finally {
    // Quit the driver
    await driver.quit();
  }
}

infiniteScrollExample();
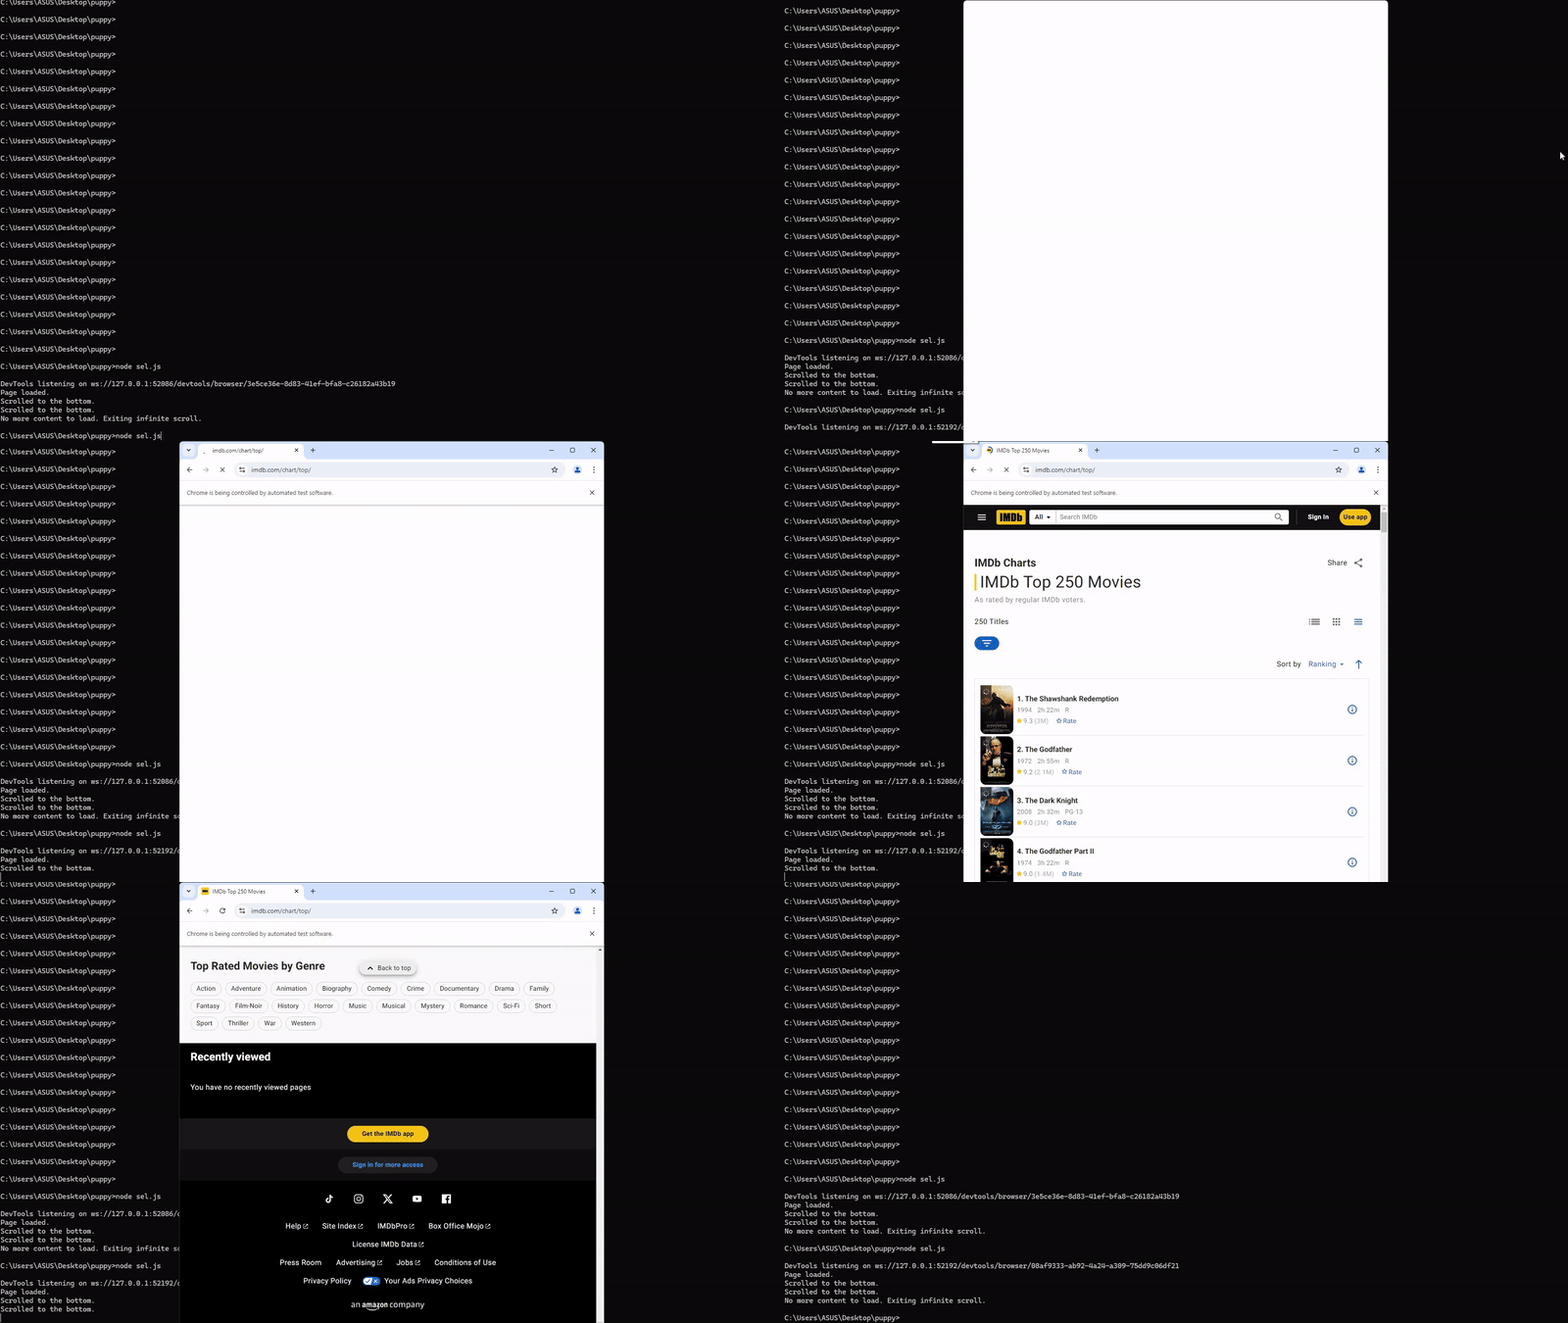
There is a while loop in the above code which keeps running until the height of the page no longer changes after scrolling, which indicates that no more content is being loaded.
Once the currentHeight becomes equal to lastHeight then only the loop will break.

How to wait for an Element
Many times you will face a scenario when an element might not load in a particular time frame. So, you have to wait for that element before you begin scraping.
					const { Builder, By, until } = require('selenium-webdriver');

async function waitForSearchBar() {
  let driver = await new Builder().forBrowser('chrome').build();
  await driver.get('https://www.imdb.com/chart/top/');

  let searchBar = await driver.wait(
    until.elementLocated(By.css('.ipc-title__text')),
    5000 // Wait for up to 5 seconds
  );


  await driver.quit();
}

waitForSearchBar();
Here we are waiting for 5 seconds for the selected element. You can refer to the official Selenium documentation to learn more about the wait method.
How to type and click
Sometimes, you may need to scrape content that appears after typing or clicking an element. For example, let’s search for a query on Google. First, we will type the query into Google’s input field. Then, we will perform the search by clicking the search button.
					const { Builder, By } = require('selenium-webdriver');

async function typeInFieldExample() {
  let driver = await new Builder().forBrowser('chrome').build();

  try {
    // Navigate to a website with an input field
    await driver.get('https://www.google.com');

    // Find the search input field and type a query
    let searchBox = await driver.findElement(By.name('q'));
    await searchBox.sendKeys('Scrapingdog');
    await driver.sleep(3000);

    console.log('Text typed successfully!');
  } catch (error) {
    console.error('An error occurred:', error);
  } finally {
    await driver.quit();
  }
}

typeInFieldExample();
Using locators like By.id, By.className, By.css, or By.xpath to find the element. Then using .sendKeys() method we typed Scrapingdog in the Google input field. Now, let’s click on the Enter button to search.
					const { Builder, By } = require('selenium-webdriver');

async function typeInFieldExample() {
  let driver = await new Builder().forBrowser('chrome').build();

  try {
    // Navigate to a website with an input field
    await driver.get('https://www.google.com');

    // Find the search input field and type a query
    let searchBox = await driver.findElement(By.name('q')); // 'q' is the name attribute of Google's search box
    await searchBox.sendKeys('Scrapingdog');
    await driver.sleep(3000);
    let searchButton = await driver.findElement(By.name('btnK'));
    await searchButton.click(); // Click the button
    await driver.sleep(3000);
    console.log('Text typed successfully!');
  } catch (error) {
    console.error('An error occurred:', error);
  } finally {
    await driver.quit();
  }
}

typeInFieldExample();
Once you run the code you will see the browser will navigate to google.com and then it will type the input search query and hit the enter button on its own. Read more about sendKeys here.

Conclusion
In conclusion, Selenium combined with Node.js is a powerful duo for automating web interactions and performing web scraping tasks efficiently. Whether you’re extracting dynamic content, simulating user actions, or navigating through infinite scrolling pages, Selenium provides the flexibility to handle complex scenarios with ease. By following this guide, you’ve learned how to set up Selenium, perform basic scraping, and interact with real websites, including typing, clicking, scrolling, and waiting for elements to load.
Now, if you prefer not to deal with headless browsers, proxies, and retries yourself, it’s recommended to use a web scraping API like Scrapingdog. The API will take care of all these tedious tasks for you, allowing you to focus solely on collecting the data you need.

