Puppeteer is a Node library with APIs to control headless browsers (mainly Chrome). With it, you can scrape pages, take screenshots, navigate, and even generate PDFs.
For the sake of this tutorial, we will use it for web scraping purposes only.
Let’s Start Scraping with Puppeteer
What we are going to scrape using Puppeteer & NodeJs
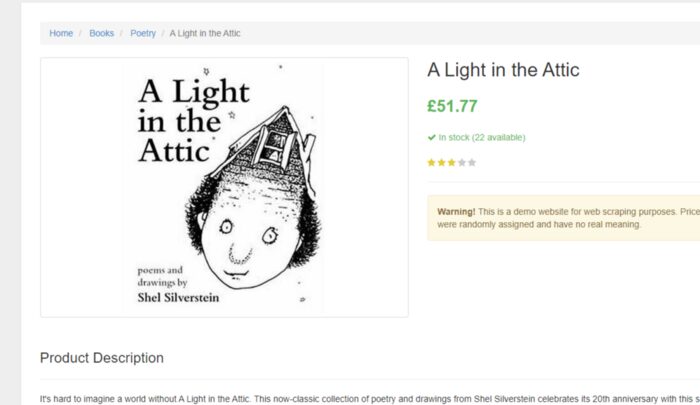
For this tutorial, we will scrape an e-commerce website http://books.toscrape.com/. The target web page will be http://books.toscrape.com/catalogue/a-light-in-the-attic_1000/index.html. It looks like this.
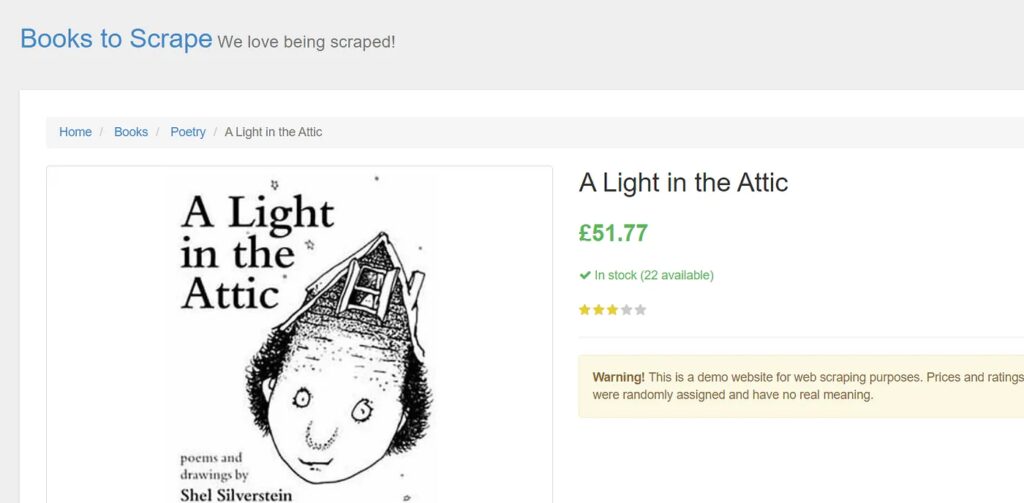
It is always a great idea to decide what data points you will extract from the target page. We will be scraping the following things from this page:
- Title of the Book
- Price of the Book
- Quantity in stock
Setup
Our setup is pretty simple. Just create a folder and install Puppeteer. For creating a folder and installing libraries, type the below given commands. I am assuming that you have already installed Node.js.
					mkdir scraper
cd scraper
Then inside scraper folder install Puppeteer and cheerio.
npm i puppeteer cheerio
Now, create a JS file inside that folder by any name you like. I am using right.js.
Preparing the Food
					const puppeteer = require('puppeteer');
async function scrape() {
  // Actual Scraping goes Here…
  // Return a value
};
scrape().then((resp) => {
  console.log(resp); // Success!
});
Let’s walk through this example line by line.
- Line 1: We require the Puppeteer dependency that we installed earlier
- Line 3–7: This is our main function
scrape. This function will hold all of our automation code. - Line 9: Here, we are invoking our
scrape()function. (Running the function).
Something important to note is that our scrape() function is a async function and makes use of the new ES 2017 async/await features. Because this function is asynchronous when it is called, it returns a Promise. When the async function finally returns a value, the Promise will resolve (or Reject if there is an error). Since we’re using an async function, we can use the await expression, which will pause the function execution and wait for there to Promise to resolve before moving on. It’s okay if none of this makes sense right now. It will become clearer as we continue with the tutorial. We can test the above code by adding a line of code to the scrape function. Try this out:
					async function scrape() {
  return 'test';
};
Now run node scrape.js in the console. You should get test returned! Perfect, our returned value is being logged to the console. Now we can get started filling out our scrape function.
Step 1: Setup The first thing we need to do is create an instance of our browser, open up a new page, and navigate to a URL. Here’s how we do that:
					async function scrape() {
  const browser = await puppeteer.launch({headless: false});
  const page = await browser.newPage();
  await page.goto ("http://books.toscrape.com/catalogue/a-light-in-the-attic_1000/index.html");
  await page.waitFor(1000);

 // Scrape
  browser.close();
  return true;
};
Awesome! Let’s break it down line by line: First, we create our browser and set headless the mode to false. This allows us to watch exactly what is going on:
const browser = await puppeteer.launch({headless: false});
Then, we create a new page in our browser:
const page = await browser.newPage();
Next, we go to the books.toscrape.com URL:
await page.goto("http://books.toscrape.com/catalogue/a-light-in-the-attic_1000/index.html");
Optionally, I’ve added a delay of 1000 milliseconds. While normally not necessary, this will ensure everything on the page loads completely:
await page.waitFor(1000);
Finally, we’ll close the browser and return our results after everything is done.
					browser.close();
return true
The setup is complete. Now, let’s scrape!
Step 2: Downloading Data In this step we are going to download the raw HTML from our target web page.
Looking at the Puppeteer API, we can find the method that allows us to get the HTML out of the page. Using page.content() method we can easily download the raw HTML from the target page.
result = await page.content()
result variable has the complete raw HTML downloaded from the source page. Now, let’s use Cheerio in order to parse the data.

As you can see in the above image, the title of the book is stored inside the h1 tag. Let’s parse it.
					scrape().then((resp) => {
  let obj={}

  let $ = cheerio.load(resp);

  obj["Title"]=$('h1').text().trim()

  console.log(obj)
})
After loading the HTML into cheerio, the $ symbol is commonly used to represent the root of the parsed HTML, similar to how jQuery uses $ to query the DOM. This allows you to use jQuery-like syntax to select and manipulate elements within the HTML.
Then $(‘h1’) selects all the h1 tags in the HTML downloaded. text() function is extracting the text from the h1 tags and trim() function is used to remove any whitespace.

Price is stored inside the p tag with the class price_color. Let’s parse it too with Cheerio.
obj["Price"]=$('p.price_color').text().trim()
Awesome! we were able to parse the title and price of the book now let’s parse quantity value as well.
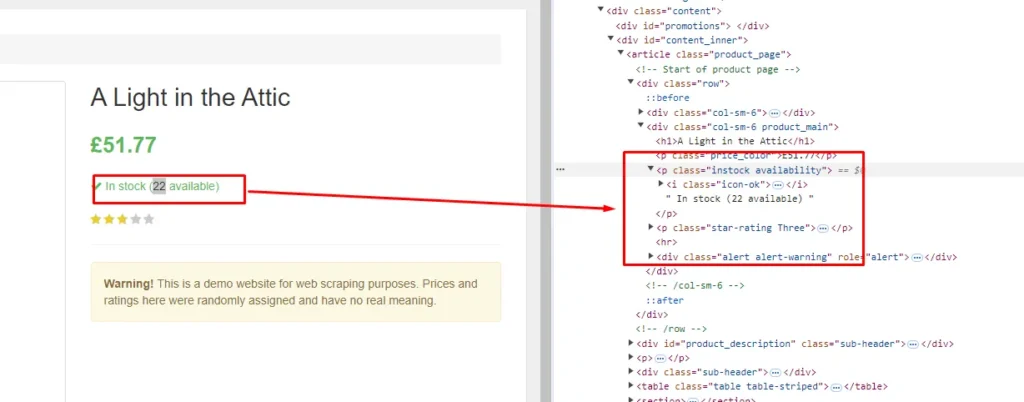
Quantity can be seen inside the p tag with the class instock. Let’s parse it.
obj["Quantity"]=$('p.instock').text().trim().replace('In stock','').replace("(","").replace(")","")
replace() function is used to remove the brackets around the quantity text. Finally, our code is ready; now we can run and test it. You can run the code by typing node right.js in the console.
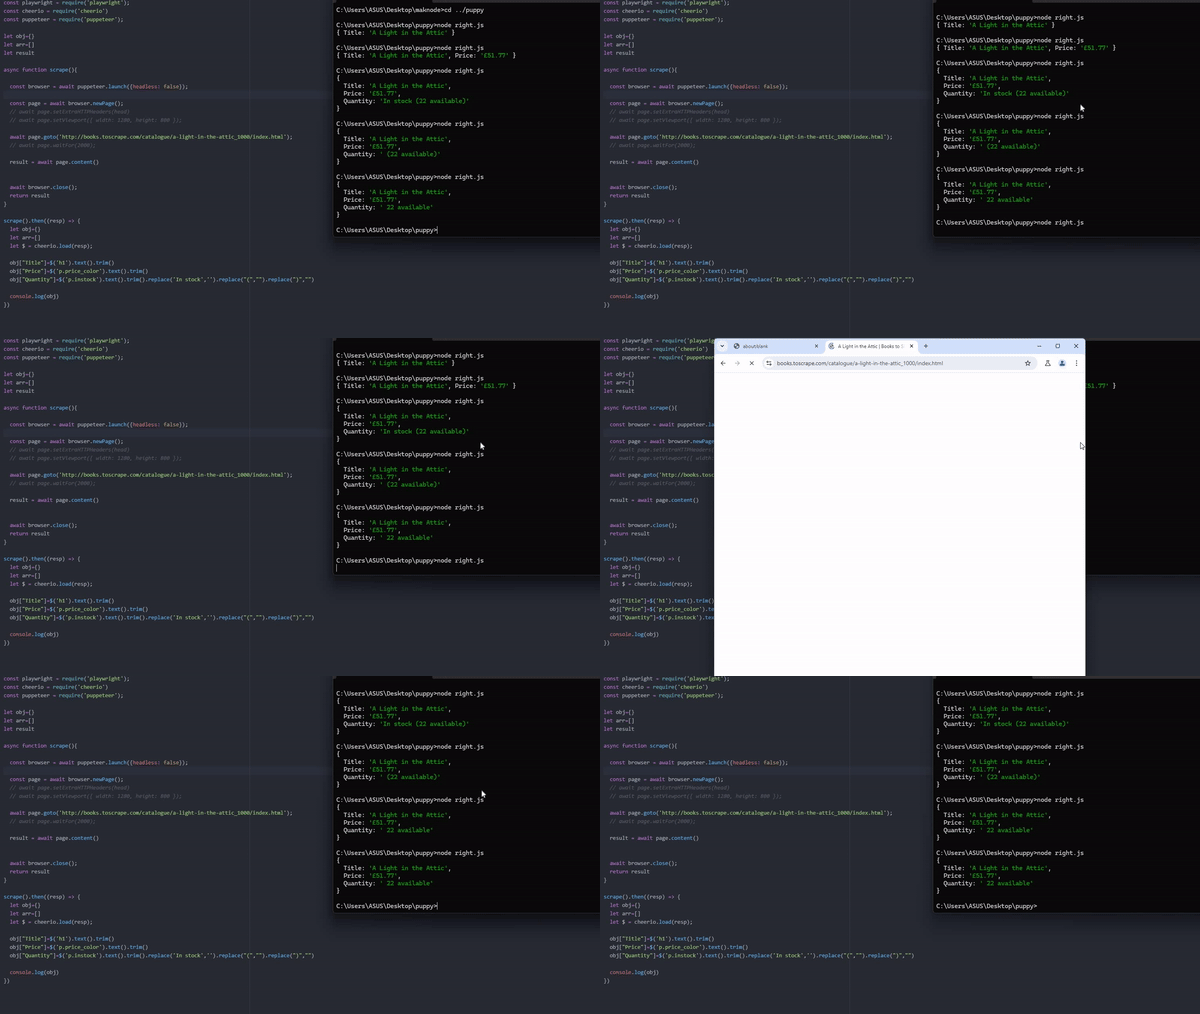
The output will look like this
					{
  Title: 'A Light in the Attic',
  Price: '£51.77',
  Quantity: ' 22 available'
}
Complete Code
					const cheerio = require('cheerio')
const puppeteer = require('puppeteer');

let result

async function scrape(){

  const browser = await puppeteer.launch({headless: false});

  const page = await browser.newPage();


  await page.goto('http://books.toscrape.com/catalogue/a-light-in-the-attic_1000/index.html');
  await page.waitFor(2000);

  result = await page.content()


  await browser.close();
  return result
}

scrape().then((resp) => {
  let obj={}
  let arr=[]
  let $ = cheerio.load(resp);

  obj["Title"]=$('h1').text().trim()
  obj["Price"]=$('p.price_color').text().trim()
  obj["Quantity"]=$('p.instock').text().trim().replace('In stock','').replace("(","").replace(")","")

  console.log(obj)
})
In your scraping journey with Puppeteer, you will face many challenges like how to use proxies with Puppeteer, or how to click and fill out forms. Mainly when you want to scrape a website at scale you will need millions of proxies and multiple instances to cater to the load of Puppeteer. This is a nightmare for any data collection company. Here Scrapingdog can help you get the data by handling all the hassle of proxies and headless chromes.
Let’s see how easy it is to use Scrapingdog for scraping websites that require JS rendering.
Alternative Solution-Scrapingdog
Once you sign up for the free pack on Scrapingdog you will get your own API key. With this pack, you will get 1000 credits for testing the web scraping API. Let’s see how it can be used for scraping our current target web page.
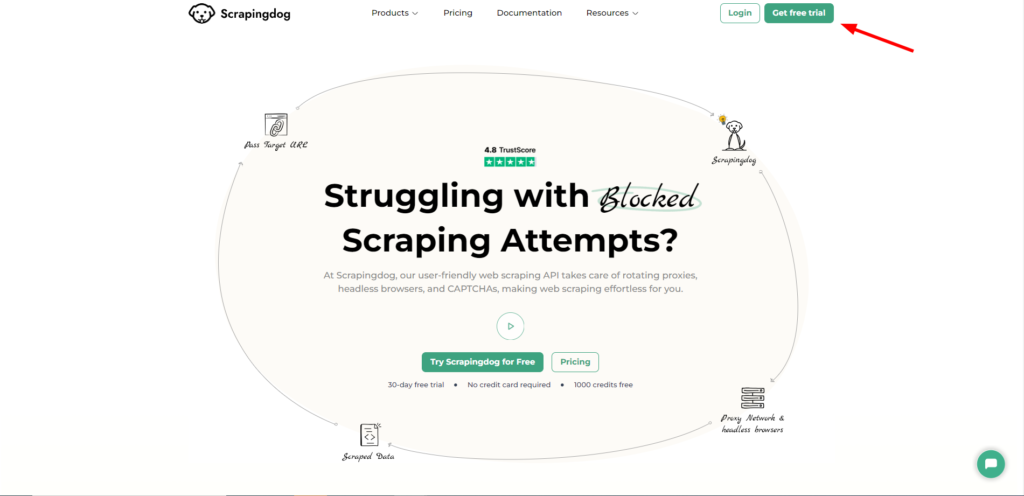
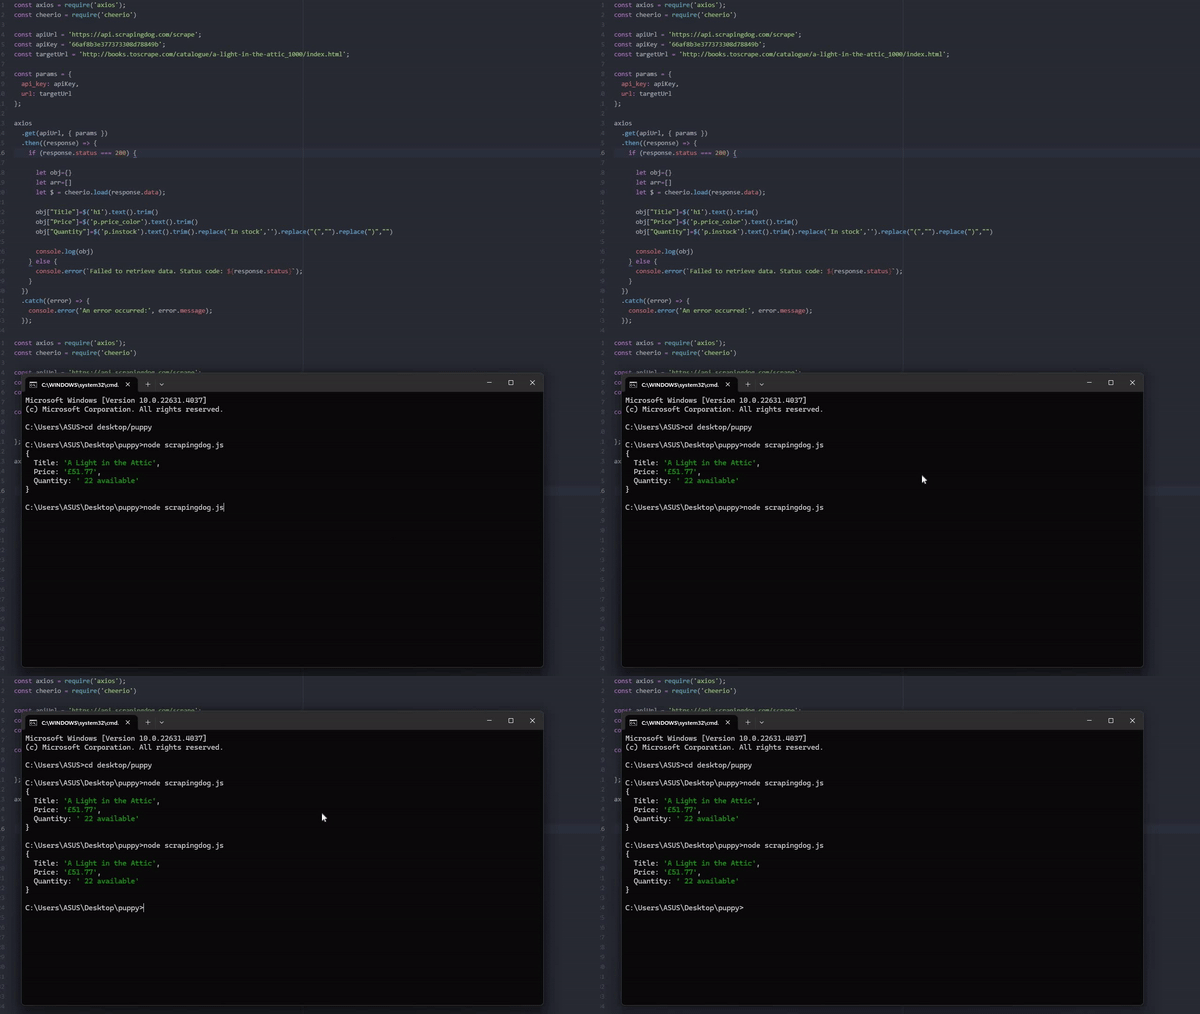
You can find a ready-made code snippet in the documentation. For this section, we will use axios to make a GET request to the Scrapingdog’s API.
					const axios = require('axios');
const cheerio = require('cheerio')

const apiUrl = 'https://api.scrapingdog.com/scrape';
const apiKey = 'Your-API-Key';
const targetUrl = 'http://books.toscrape.com/catalogue/a-light-in-the-attic_1000/index.html';

const params = {
  api_key: apiKey,
  url: targetUrl
};

axios
  .get(apiUrl, { params })
  .then((response) => {
    if (response.status === 200) {

      let obj={}
      let arr=[]
      let $ = cheerio.load(response.data);

      obj["Title"]=$('h1').text().trim()
      obj["Price"]=$('p.price_color').text().trim()
      obj["Quantity"]=$('p.instock').text().trim().replace('In stock','').replace("(","").replace(")","")

      console.log(obj)
    } else {
      console.error(`Failed to retrieve data. Status code: ${response.status}`);
    }
  })
  .catch((error) => {
    console.error('An error occurred:', error.message);
  });
Conclusion
In this article, we understood how we could scrape websites using Nodejs & Puppeteer regardless of the type of website. Later we took advantage of Scrapingdog’s web scraping API which can render JS on its own and remove the hassle of handling browsers from your end.
Feel free to comment and ask me anything. You can follow me on Twitter and Medium. Thanks for reading, and please hit the like button!
Additional Resources
And there’s the list! At this point, you should feel comfortable writing your first web scraper to gather data from any website. Here are a few additional resources that you may find helpful during your web scraping journey:
Web Scraping with Scrapingdog

