TL;DR
- Set up
Puppeteerwith proxies; usepage.authenticate()for private proxies. - Ensure full loads with
waitUntil(e.g.,networkidle2) and timeouts; wrap flaky proxies intry/catch. - Demos show scraping via a public proxy, plus click/type flows (button + search) with higher-quality proxies.
- Scrapingdog proxies suggested for reliability; includes 1,000 free calls to test.
In this article, we will talk about how a proxy can be used with Puppeteer. First, we will learn some basic steps to set up a proxy with Puppeteer, and then we will try it with Scrapingdog private proxies.
We will also learn how you can scrape the data after pressing the button using Puppeteer and proxies.
Requirements
Puppeteer with Proxy: Setting Up
Puppeteer is a great tool for web scraping and that is due to its API support. I would suggest you go and read the Puppeteer documentation. We will begin with some basic steps to start with.
Steps
Launch the puppeteer using launch function.
Then open a new page using newPage function.
The third step is completely conditional. It involves passing proxy credentials in case the proxy is private. You have to use authenticate function to pass the credentials.
The next step is to extract the raw HTML from that page using the content function.
The last step is to close the browser using the close function.
Code
					const browser = await puppeteer.launch({args: [ ‘ — proxy-server=proxy.example.com:8081']});

const page = await browser.newPage();

await page.goto(‘https://scrapingdog.com/');

var data = await page.content();

await browser.close();
console.log(data)
Proxy Authentication
As stated earlier this is used to pass credentials to private proxies. Puppeteer does not provide command-line options to pass the proxy credentials. There is no straightforward method to force Chromium to use a specific username and password. But the puppeteer provides an authenticate function that can be used to solve this problem.
await page.authenticate({username: ‘xxx’,password: ‘xxx’});
Complete Website Loading
When you open a website URL using the goto function there might be some cases where some of the websites won’t load completely. If the website is not completely loaded then you will receive incomplete data after scraping. In many cases, you will not receive the data(dynamic data) you need. So, you have to keep rendering the website until it loads completely. Puppeteer has a function called waitUntil where you can pass in several options. These options change the behavior of how and when it will complete the rendering of your page, and return the results.
Options offered by waitUntil are:
- load — When this event is fired navigation will be completed.
- domcontentloaded — When this event is fired, navigation will be completed.
- networkidle0 — consider navigation to be finished when there are no more than 0 network connections for at least 500 ms.
- networkidle2 — consider navigation to be finished when there are no more than 2 network connections for at least 500 ms.,
await page.goto(‘https://www.makcorps.com',{timeout: 70000, waitUntil: ‘networkidle2’});
You can use a timeout property to avoid any timeout-related errors.
Scraping a Website using a Proxy Network
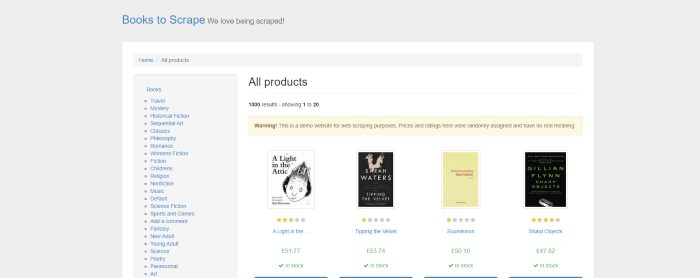
For this section, we will use a list of free proxies. We will try to scrape this website.
					async function puppy(){
 const browser = await puppeteer.launch({args: [ ‘ — proxy-server=http://157.230.255.230:8118']});
 const page = await browser.newPage();

try{
  await page.goto(‘https://books.toscrape.com/',{timeout: 70000, waitUntil: ‘networkidle2’});
 }catch(err){
  console.log(err)
 }

var data = await page.content();

 await browser.close();
 console.log(data)
}

puppy()
We have created an async function puppy where we have used a public proxy. You can select any free proxy. We have also used try and catch in case our proxy fails to scrape our target website.
Then we used the content method to extract the data from that page which is followed by closing the browser.
Finally, we are printing the data.

Scraping After Pressing a Button
For this, we might need some quality proxies. You can sign up for Scrapingdog free trial for that. You will get free 1000 calls.
After signup, you will find a proxy URL on your dashboard. We are going to use that for web scraping. Now, if you want to use datacenter proxies then just remove this part — “-country=random”. country=random will provide you with Residential proxies from random countries.
We will understand this with two examples.
Plan of attack for Ist example
- Open a page.
- Click an element.
- Redirect to a new page.
- Scrape that page.
Plan of attack for IInd example
- Open a page.
- Type some queries and press enter.
- After pressing Enter a new page will open.
- Scrape that page.
Example I
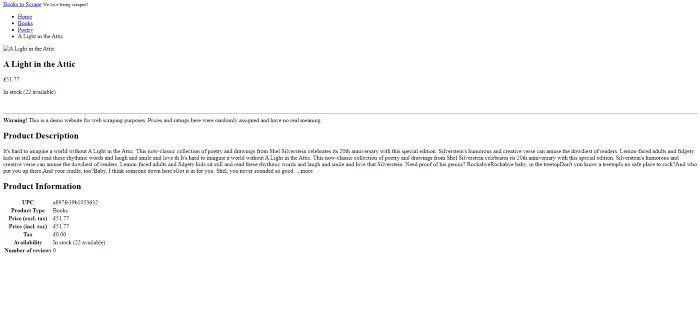
In this example, we will scrape this website. As explained earlier we will open the website and then click on the first book “A Light in the Attic”.
					const browser = await puppeteer.launch({ headless: false },{args: [ ‘ — proxy-server=proxy.scrapingdog.com:8081’]});

const page = await browser.newPage();

await page.authenticate({username: 'scrapingdog',password: 'xxxx'});
await page.setViewport({ width: 1280, height: 800 })
try{
    await page.goto('https://books.toscrape.com/',{timeout: 70000, waitUntil: 'networkidle2'});
}catch(err){
    console.log(err)
}

We will use the img tag to click that particular book.
					await page.click(‘img[alt=”A Light in the Attic”]’)
await page.waitFor(2000);
var data = await page.content();
await browser.close()
console.log(data)
We have used waitFor function to wait for the page to redirect completely. After loading the page we will use the content function to extract all the data.
Example II
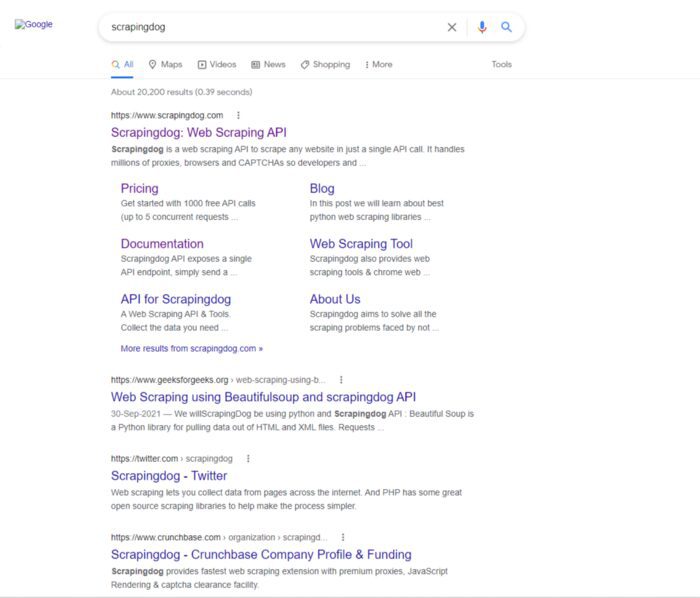
For this example, we will scrape Google. We will type a query on the input field and then press enter. After that whatever results appear on our screen we will scrape it.
					const browser = await puppeteer.launch({ headless: false },{args: [ ‘ — proxy-server=proxy.scrapingdog.com:8081’]});
 const page = await browser.newPage();

await page.authenticate({username: ‘scrapingdog’,password: ‘xxx’});
await page.setViewport({ width: 1280, height: 800 })
try{
 await page.goto(‘https://www.google.com/',{timeout: 70000, waitUntil: ‘networkidle2’});
}catch(err){
 console.log(err)
}
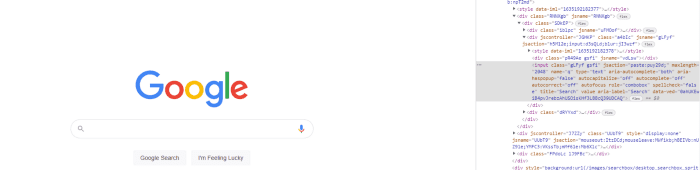
We will click/select the second child of the div parent and then type a query “scrapingdog”. After that, we will press enter.
					await page.waitForSelector(‘div form div:nth-child(2) input’);

await page.click(‘div form div:nth-child(2) input’)
await page.keyboard.type(‘scrapingdog’);
await page.keyboard.press(‘Enter’);
await page.waitFor(3000);
var data = await page.content();

await browser.close();
console.log(data)
Here we have used waitForSelector function to wait for the particular element to appear on the screen. When it appears we are going to click it and type scrapingdog and then press enter.
We are waiting for the page to load completely. After that, we will scrape the page data using the content function and then close the browser using close function.
Troubleshooting Puppeteer with Proxy
We all know the frustration of trying to web scrape behind a proxy. It’s like being in a maze – every time you think you’ve found the exit, you hit another wall.
Luckily, there are some tools and tricks that can help you get around this hurdle. In this article, we’ll show you how to use Puppeteer with a proxy.
First, let’s take a look at some of the common issues you might encounter when using Puppeteer with a proxy. Then, we’ll share some tips on how to overcome them.
Common Issues: –
One of the most common issues is having Puppeteer return an error when trying to connect to the proxy. This can happen for a number of reasons, but the most likely cause is that your proxy requires authentication.
If this is the case, you’ll need to set the username and password for the proxy in the Puppeteeroptions object. For example:
					const options = {

proxy: {

host: 'proxy.example.com',

port: 1234,

username: 'username',

password: 'password'

}

}
					const options = {

timeout: 30000,

}
If you’re still having issues, the next step is to check the proxy itself. Make sure the proxy is online and accessible from your network. You can do this by trying to connect to the proxy from a web browser.
If the proxy is up and running, but you’re still having issues, contact the proxy provider for help.
Tips and Tricks
Now that we’ve gone over some of the common issues you might encounter when using Puppeteer with a proxy, let’s share some tips and tricks that can help you get around them.
One useful tip is to use a rotating proxy. This will help to avoid any potential issues that could arise from using a single proxy for an extended time. Similarly, understanding how to use a VPN can further help mask your IP and add another layer of anonymity while scraping or browsing.
There are several rotating proxy providers that you can use, or you can even set up your own.
Another useful tip is to use a business VPN (Cybernews recommends checking out their NordVPN review). in addition to a proxy. This will help to further mask your identity and make it more difficult for sites to block your IP address. Additionally, it’s advisable to consider identity theft recovery options. In the event that your identity is compromised, having a recovery plan in place can provide peace of mind and assist you in swiftly regaining control. There are services available that specialize in helping individuals with identity theft recovery, ensuring that your personal information remains protected.
Key Takeaways:
- Shows how to configure Puppeteer to run through a proxy server.
- Explains why proxies are important for web scraping and browser automation.
- Includes example code to set up and authenticate proxies in Puppeteer.
- Covers different proxy types (HTTP, HTTPS, SOCKS) and usage scenarios.
- Useful for avoiding IP blocks and scaling automated browsing tasks.
Conclusion
In this tutorial, we discussed how Puppeteer can be used in several different ways for web scraping using proxies. You will now be able to scrape other websites that require a login or a click on a dialog box. But these websites can only be scraped using paid proxies. Free proxies have limited usage but with paid proxies, there are no limits. You can also check the test results for the best datacenter proxies. We have compared many paid proxy providers.
Additional Resources
Here are a few additional resources that you may find helpful during your web scraping journey: